Overview
The dd4hep environment has tools envisioned for detector simulation for the next generation of experiments. These are very powerful and flexible tools, and so, if you are just beginning coding or if your coding skills are a bit rusty, you may need some help to navigate their complex environment. This document may help you get started. This tutorial assumes you have some familiarity with GEANT4, a very powerful program for describing detector geometries and simulating particle interactions with matter.. If not, you may wish to do this tutorial first. You also need to know ROOT. If you don’t know that, maybe try the tutorial here (or find a more modern one by googling). You should also have familiarity with GitHub and its commands.
First, let’s go to the github repository for dd4hep: https://github.com/AIDASoft/DD4hep
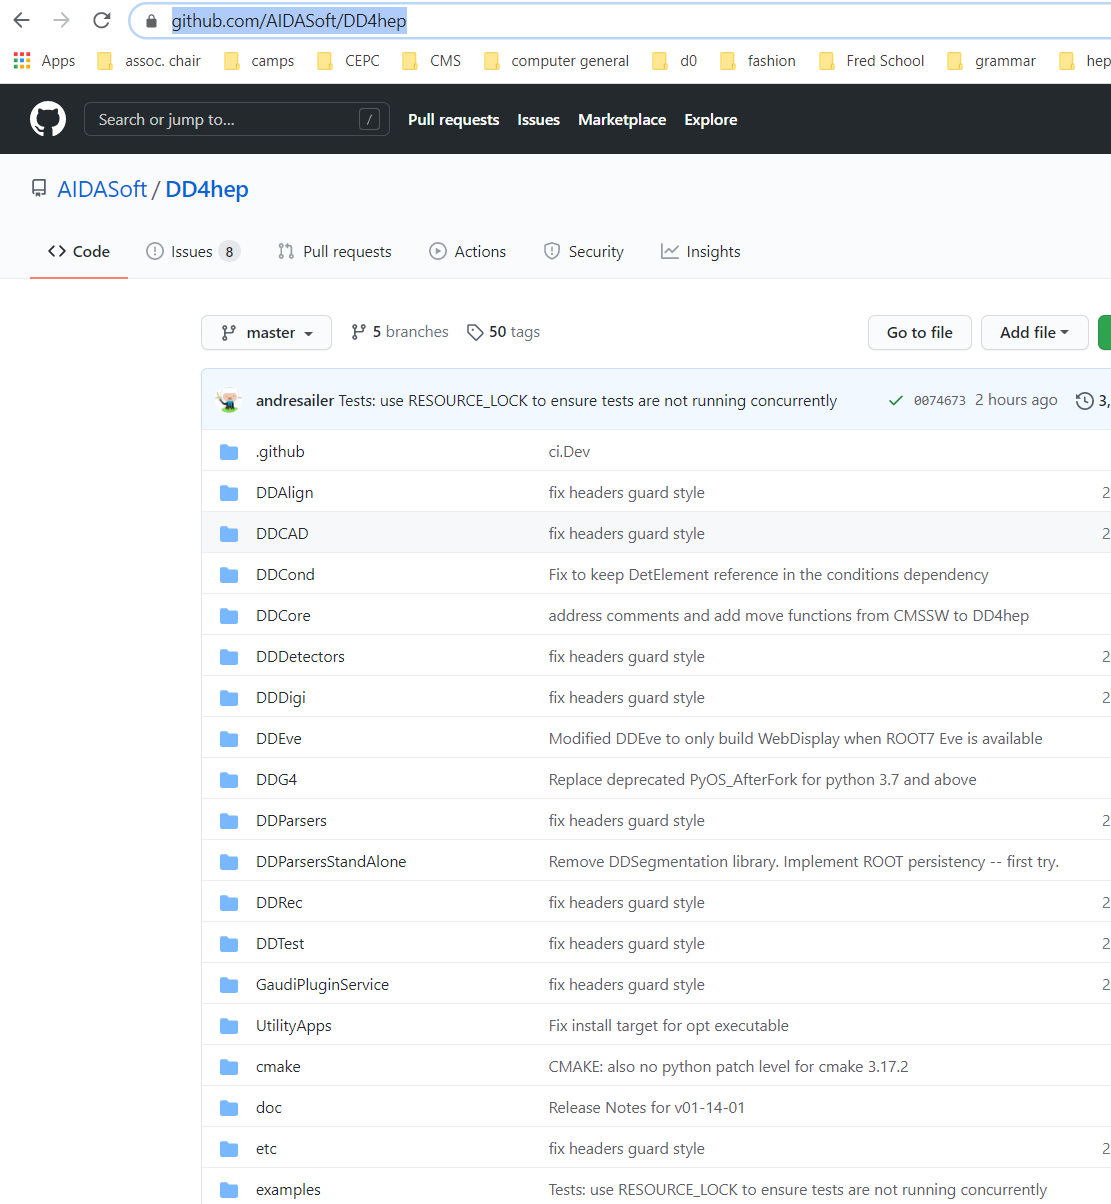
You can see some of the major tools available by looking at the folder names. In this “tutorial”, we are going to discuss only a few of them: DDCore, DDG4, DDDetectors, DDEve, and examples. DDCore is used to take geometry defined in xml files and translate it to GEANT4 geometries. DDG4 is an interface between the DD environment and GEANT4. DDDetectors and examples show examples of detectors implemented in the DD environment. We’ll especially be looking at the implementation of the SiD detector in DDDetectors to learn our way around.
Trying out the tools
In this tutorial, we will first use the tools. Then, in the next section, we’ll look at the code to understand it better, so we can change it.
Let’s make and look at some events using the SiD detector.
Installation of DD4hep
First let’s download and compile the DD code. You need a computer with the CERN CVMFS repositories mounted. Then, go to some scratch disk where you have a lot of space. Then do
git clone https://github.com/AIDASoft/DD4hep.git
cd DD4hep
source /cvmfs/sft.cern.ch/lcg/views/LCG_102b/x86_64-centos7-gcc11-opt/setup.sh
mkdir build
cd build
cmake -DDD4HEP_USE_GEANT4=ON -DBoost_NO_BOOST_CMAKE=ON -DDD4HEP_USE_LCIO=ON -DBUILD_TESTING=ON -DDD4HEP_BUILD_EXAMPLES=ON -DCMAKE_BUILD_TYPE=Release ..
make
make install
cd ..
source bin/thisdd4hep.sh
Please have a look at the details in the dedicated DD4hep installation guide about requirements for using LCG stacks as well
Each time you re-login, you’ll need to go to your DD4hep area and do
source /cvmfs/sft.cern.ch/lcg/views/LCG_102b/x86_64-centos7-gcc11-opt/setup.sh
source bin/thisdd4hep.sh
When you edit the code, you will need to go to DD4hep/build and do the “make” and “make install” commands to update.
Visualizing the geometry
The DD environment has some nice visualization tools. They are based on ROOT and so will have a familiar feel. Let’s look at the SiD detector. Make sure you have Xming running or whatever else you use for x11 visualization.
cd DDDetectors/compact
geoDisplay SiD.xml
You should see something like:
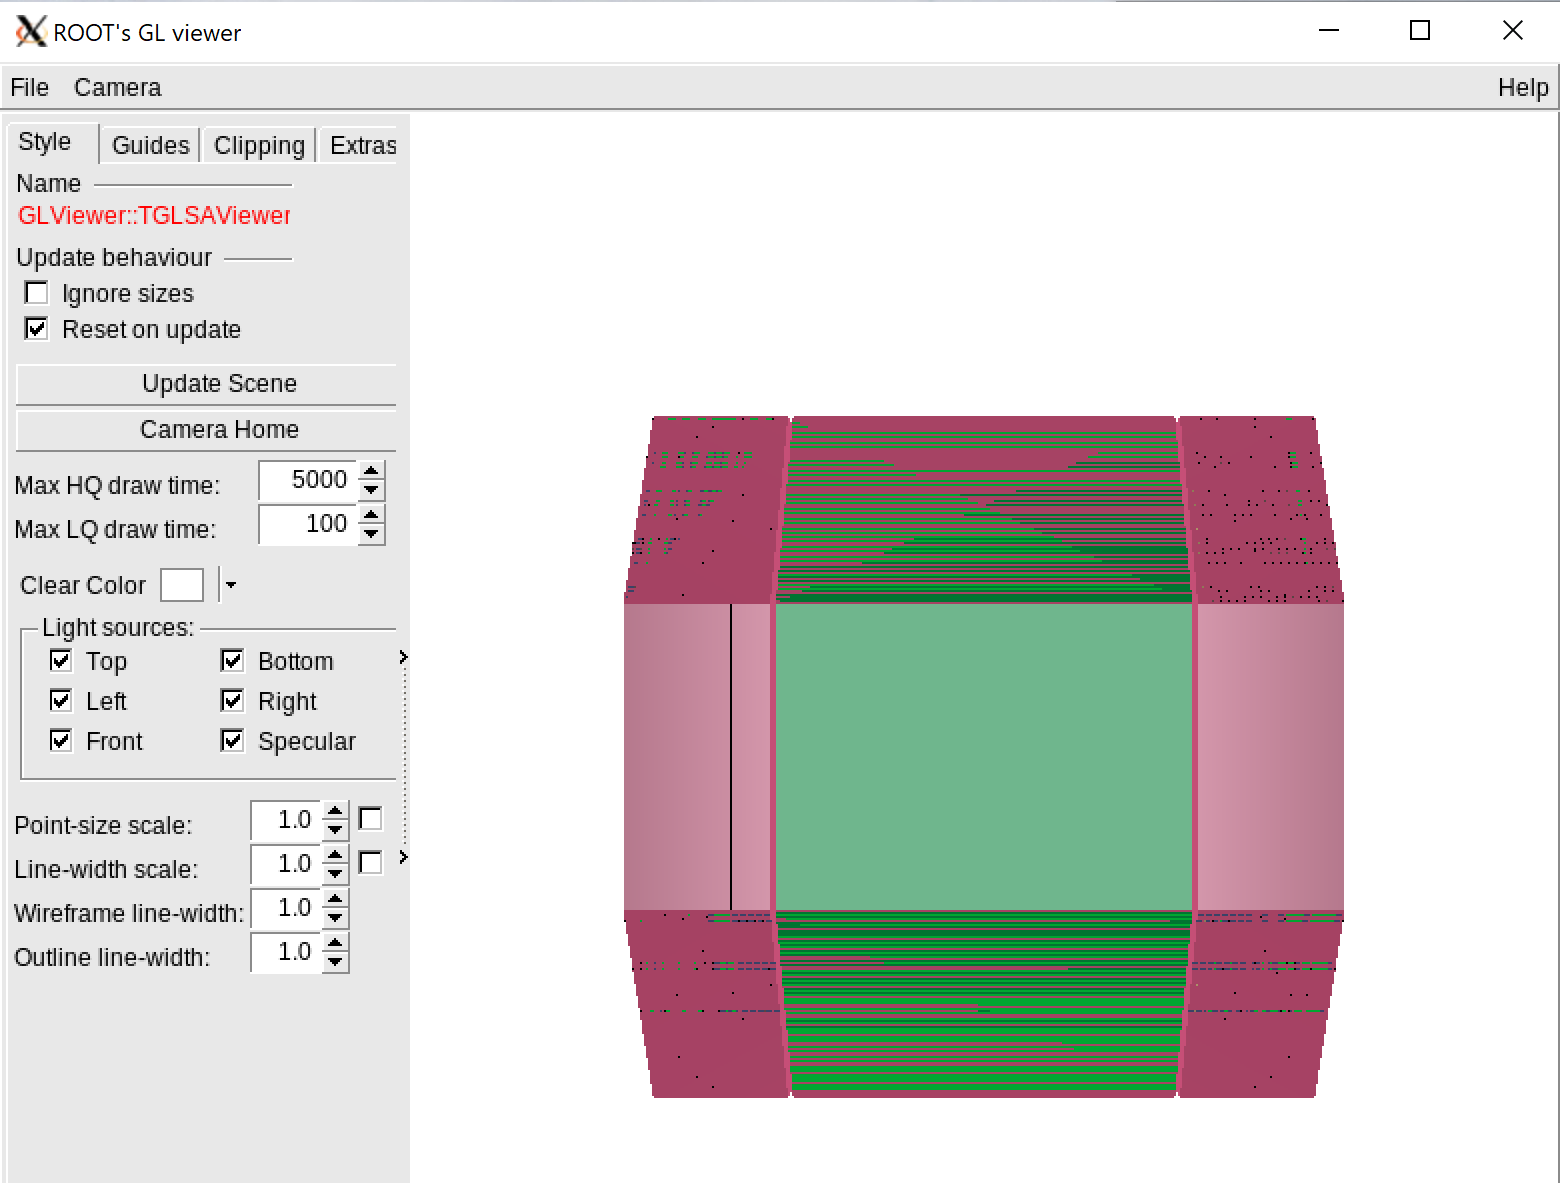
Pretty cool! Use your mouse on the image of the detector to rotate the view.
Making some events
We’ll now make some single particle events (single electrons). The program to make some events is called “ddsim”. First change the directory to DDDetectors/compact so that we have the SiD.xml handy.
Then, so that we can have more flexibility, we are going to do something we need to do once, but will not need to do again
ddsim --dumpSteeringFile > steering.py
The file steering.py will give us access to many of the GEANT4 commands you may know. We’ll look at it in the next part of the tutorial. Then do (in the DDDetectors/compact directory)
ddsim --compactFile=./SiD.xml --runType=batch -G -N=10 --steeringFile steering.py --outputFile=testSiD.root --gun.position "0.0 0.0 1.0*cm" --gun.direction "0.0 1.0 0.1" --gun.energy "30*GeV" --part.userParticleHandler="" --gun.particle "e-"
When you do this, you will see some typical GEANT4 spew.
Let’s look at the outputfile testSiD.root using TBrowser in root. You should see something like:

You can see some of the nice features of the DD environment here. Each detector has its “hit” information in the detector sensitive areas stored in a uniform way. You will see you can take detectors in and out easily, and change their parameters easily.
Sometimes it is fun to see individual events using the GEANT4 visualization display. Get a vis.mac file from some geant4 simulation you have done. Move it to DDDetectors/compact. Then,do:
ddsim --compactFile=./SiD.xml --runType=vis -G -N=2 --steeringFile steering.py --outputFile=testSiD.root --gun.position "0.0 0.0 1.0*cm" --gun.direction "1.0 1.0 0.1" --gun.energy "30*GeV" --part.userParticleHandler="" --gun.particle "e-" --runType vis
The geant4 prompt will come up. Then at the geant4 prompt you can do
/control/execute vis.mac
/run/beamOn 1
On the window that pops up, choose “Miscellany” and “Exit to G4Vis>” Then do typical GEANT4 visualization commands like:
/vis/viewer/refresh
/vis/viewer/zoomTo 10
/vis/viewer/pan -100 200 cm
exit
Displaying the hits produced by GEANT4 in ddsim
The DD environment has a tool for visualizing the hits stored in this file.
ddeve -config ./examples/CLICSiD/eve/DDEve.xml -data testSid.root
Then go to the dd4hep menu
Show event IO
Then open the data file and click on “Next”
Understanding the code you just ran
Files defining the geometry
Let’s look at SiD.xml. At the top you will see:

If you look in elements.xml and materials.xml, you will see typical GEANT4 material definitions. This is where you will define materials you need to build your detector.
If you look at SiDConstants.xml, you will see:
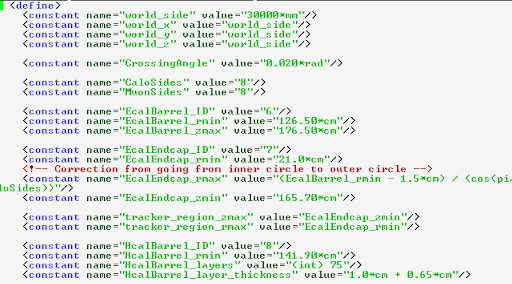
This shows another useful feature of the DD environment. As long as you are careful and don’t make ridiculous choices, you can alter parts of your geometry simply from this file. Of course, there are lots of other hidden geometry parameters, which we will explore later.
At the bottom of SiD.xml, you will see:
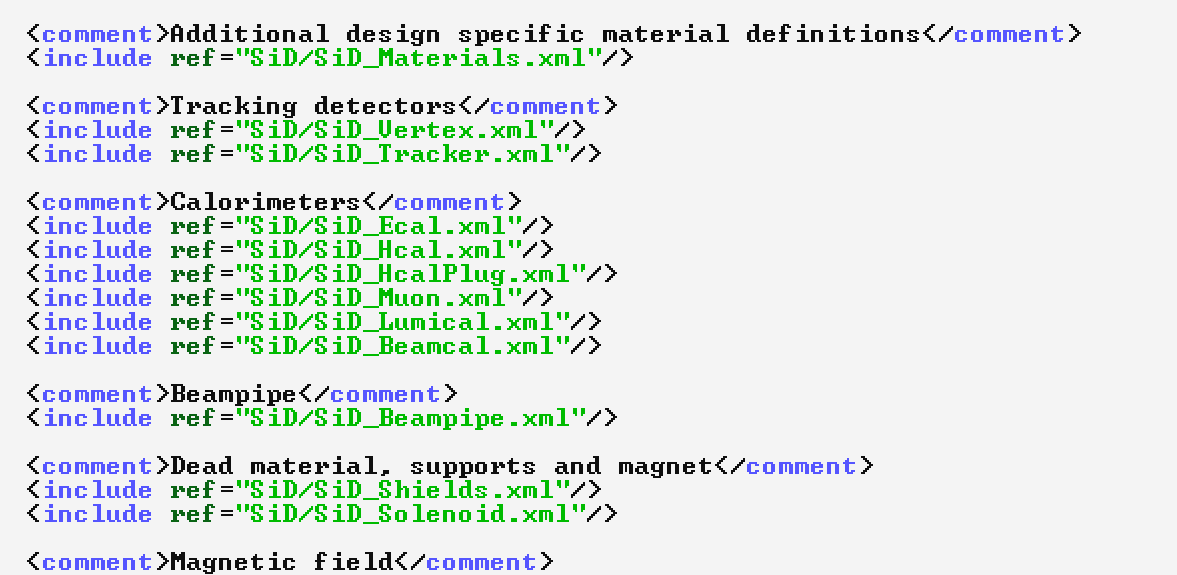
This makes it easy to take in and out detectors. If you remove these lines, the corresponding detector is removed. Try removing some and then using the visualization tools to verify that you did this.
To understand more completely the geometry, let’s look specifically at the barrel ecal. In the above, you can see there is a file SiD/SiD_Ecal.xml. Let’s look at that.
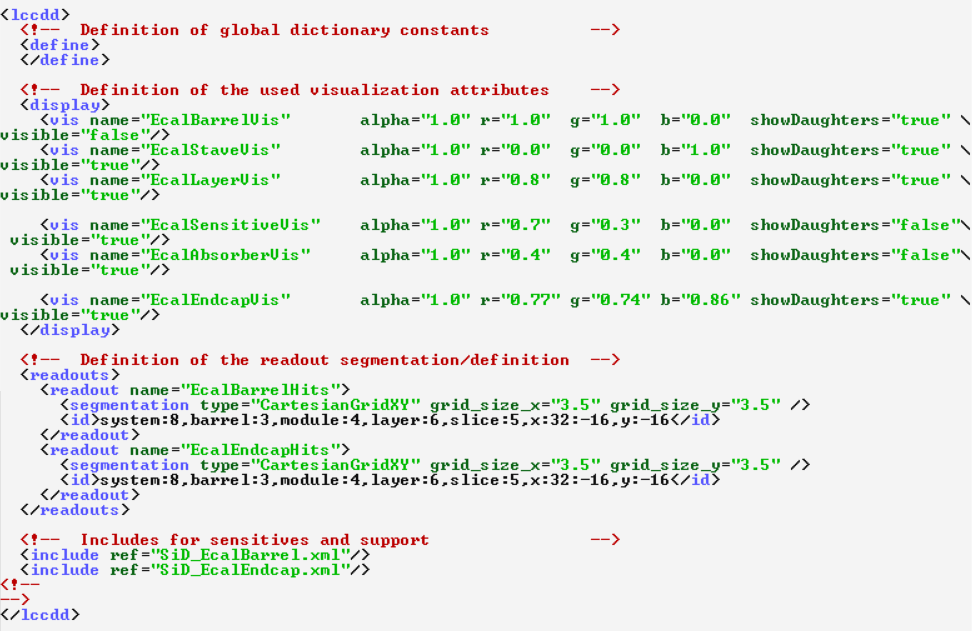
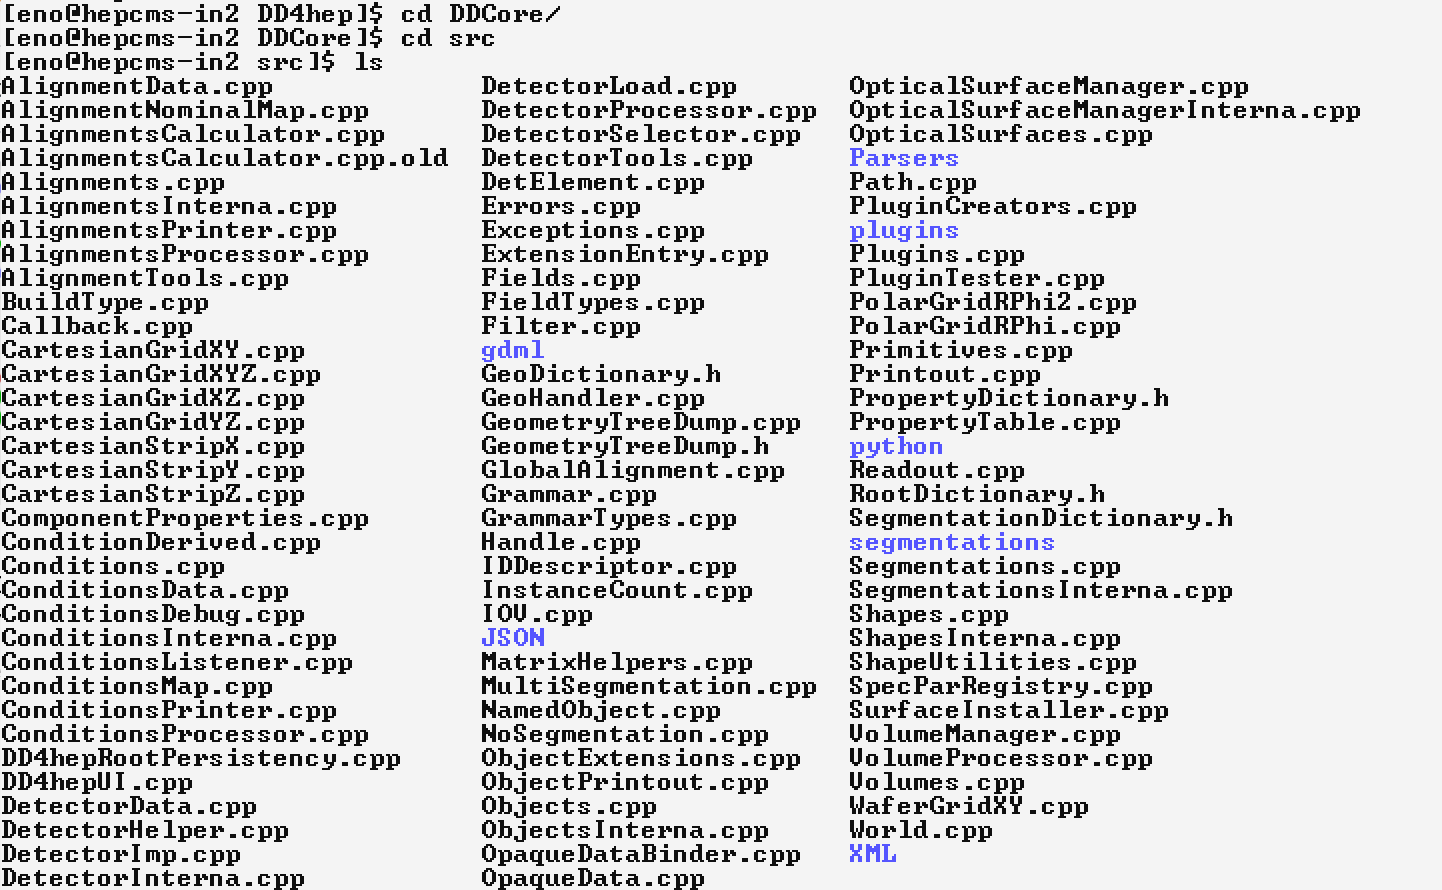
In this file, the important part is the definition of the readout segmentation. You can see it is set to “CartesianGridXY”. The code for this can be found at: DDCore/src. By looking at the file names, you can see different kinds of segmentations available.
An interesting field in the xml file above that you need to be careful with when you change the segmentation is the “id” field. This will be used to encode the sensitive cell id number. The code will be packed into a single 64 bit word. The various fields in this are the bits allocated to each part of the address, representing the different physical readouts. You will need to be careful with this if you try to increase segmentations. Be aware These are defined in code in DDDetector/src/EcalBarrel_geo.cpp. If you look at this file, and search through it for “det_id”, you’ll see how these various descriptors for the physical readout are built. The last two fields “x:32:-16 y:-16” define how bits are arranged in the word, and effectively limit the address bit space to 32 bits. You can see the details in DDCore/src/segmentations/BitFieldCoder.cpp. Search for “offset” in this code.
You can see that this xml file also points to yet another xml file, SiD/SiD_EcalBarrel.xml. Let’s look at that.
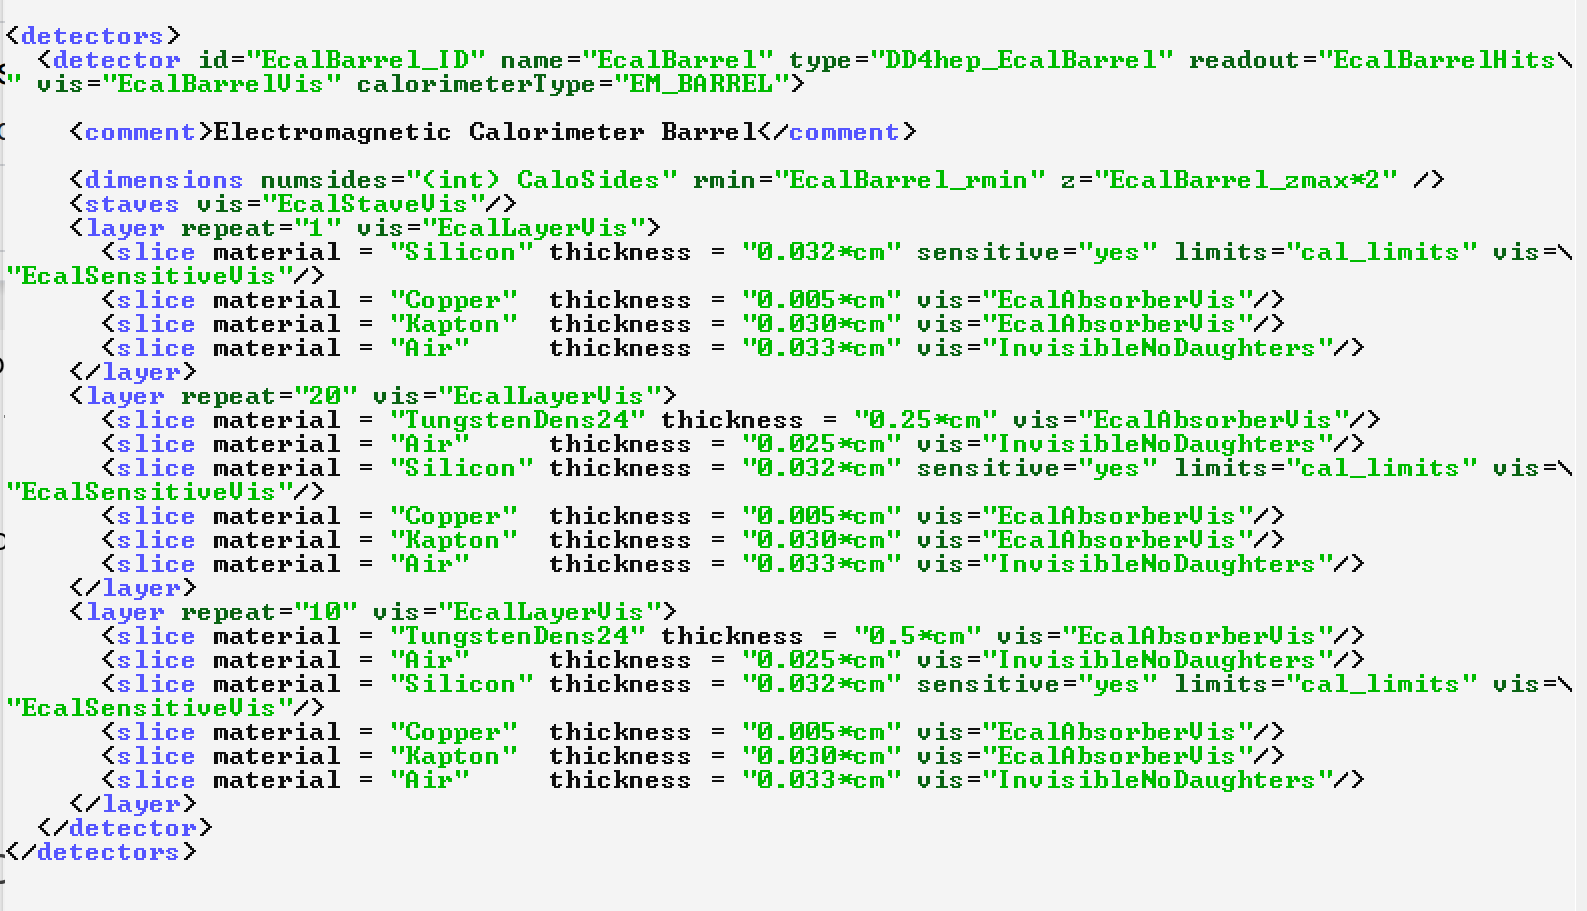
You can see the “readout” field points to the definition in the previous xml file.
The field type=EM_Barrel is a pointer to DDDetectors/src/EcalBarrel_geo.cpp (which we mentioned already above). If you look at this code, you can see at the bottom
DECLARE_DETELEMENT(DD4hep_EcalBarrel,create_detector)
That this is defined. If you read this code, you can see it defines what “staves”, “layers”, and “slices” are. Here is where you define the real geometry. But you can imagine things you might like to vary, and so in this code you set it up so this can be varied by xml file. If you look at the “create_detector” method, you can see how the various xml files, and the definitions like the segmentation definition, get fed to this code.
Code organization in DDG4
If you want to go beyond the basics, you’ll need to understand a bit better the code organization in DDG4. An interesting piece of code relevant to this calorimeter example is DDG4/plugins/Geant4SDActions.cpp. This is where the information from GEANT4 that is eventually gathered into the root tuple is collected. This uses code in DDG4/src/Geant4Hits.cpp
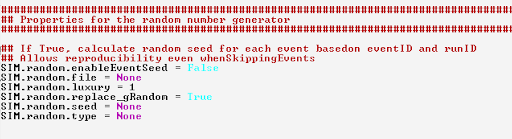
Let’s also look at the steering.py file we made before:
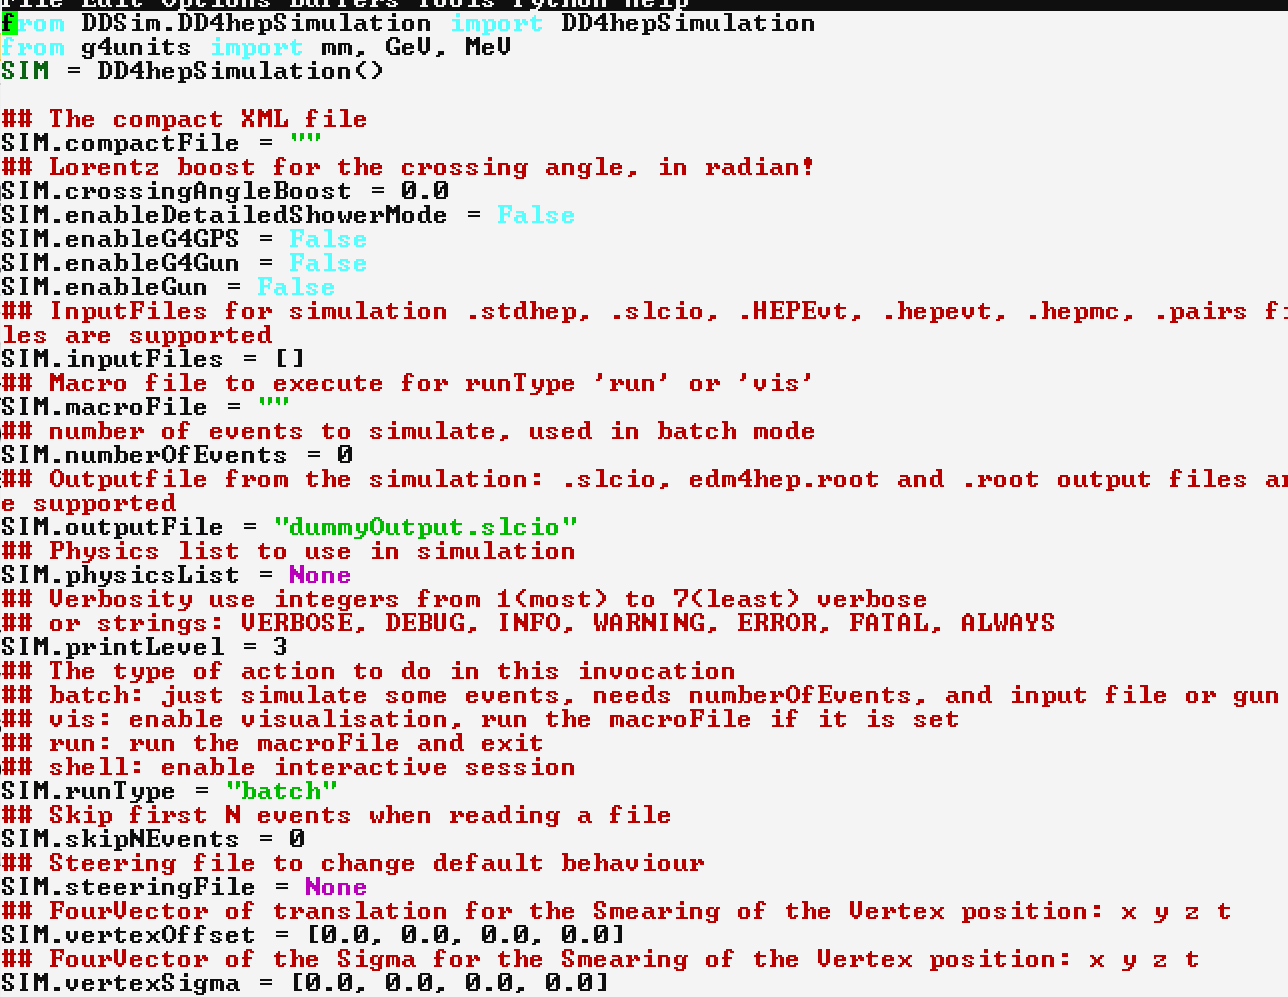
If you are familiar with GEANT4, you can see this is setting some of the parameters you are familiar with from that. Here are the lines for the random number generator settings
It also contains pointers for GEANT4 for the kind of user routine you used to write in that environment.
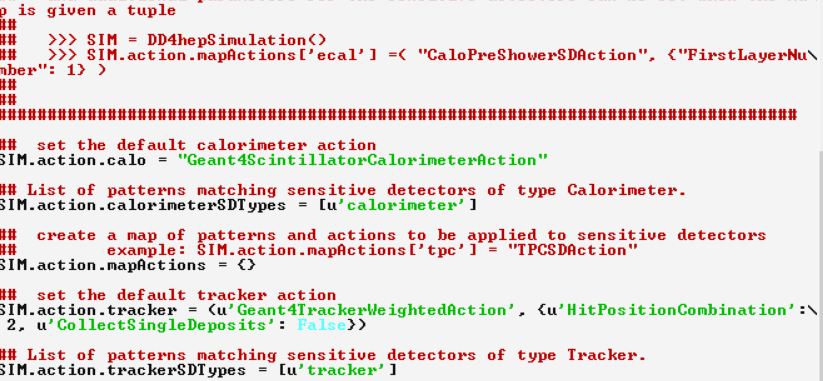
In this case, “Geant4ScintillatorCalorimeterAction” is defined in DDG4/plugins/Geant4SDActions.cpp. At the bottom of that file you find:

So this tells you where you need to change things about storage of GEANT4 information.
And things like
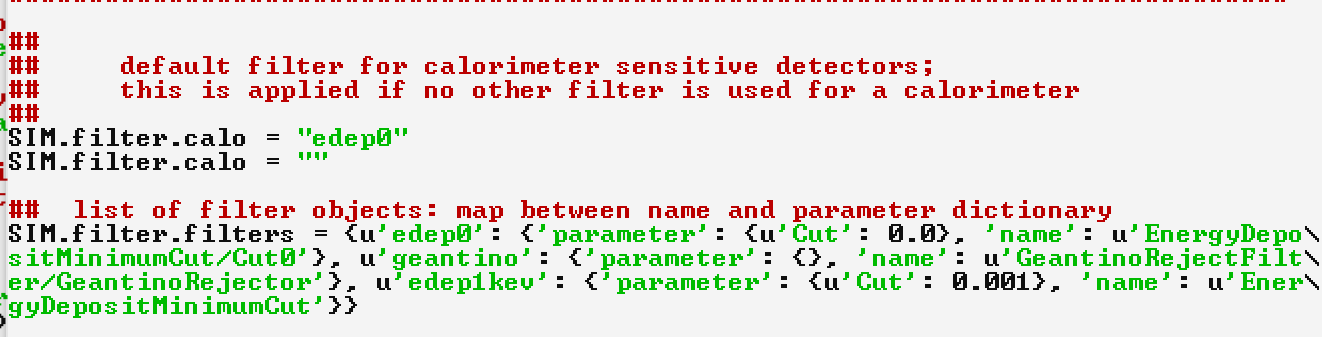
Affect the production of the hits from the GEANT4 information.
The examples area
You can find examples to browse of completed code in the examples subdirectory. However, many of these are not in the ddsim environment.
Getting help
You can contact the patient and helpful dd4hep team using https://github.com/AIDASoft/DD4hep/issues If you look at the “Help for beginners” thread, you can see how patient they were with me.